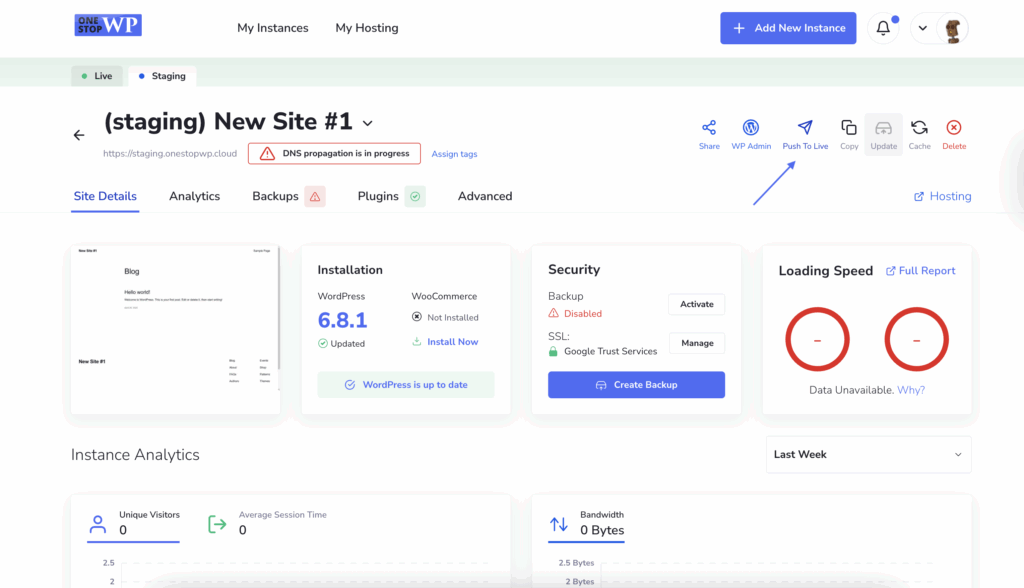
Just as with creating WordPress staging website and pushing changes from live to staging, it is as simple to do the other way around. Once you are on the Staging website, you will see the Push To Live button:

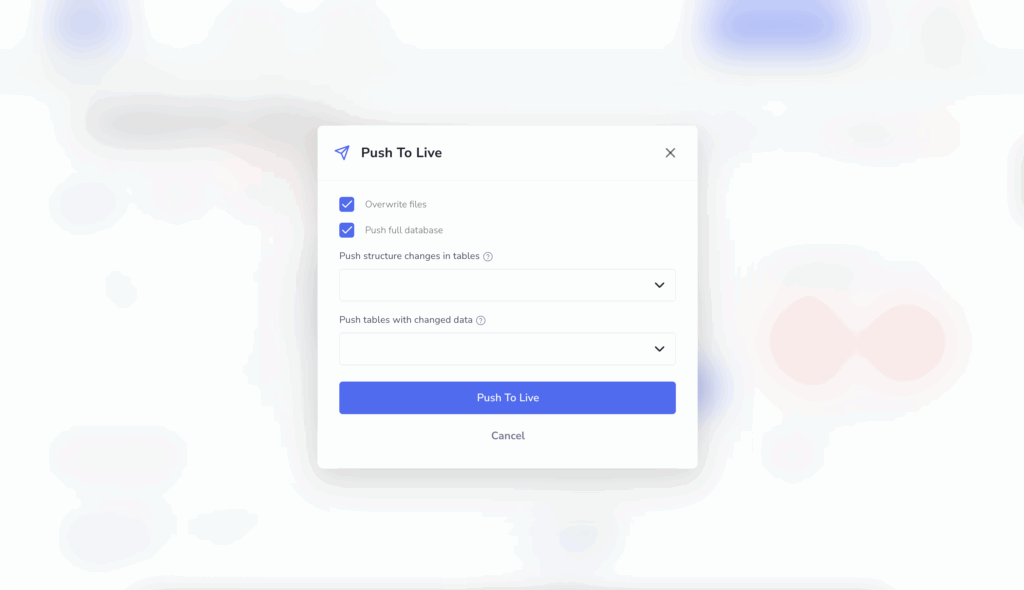
Clicking on this button you will start the process of pushing content from your staging WordPress website to the live version. Once the button is pressed, you will see a menu that allows you to choose what content exactly to be pushed to the live website. You can choose to overwrite the files and push the full database or only select certain structure and/or tables. This will depend on your preferences and what exactly you want to push to the live WordPress website:

Once this is configured simply press the Push To Live button. As soon as this is done the automated process will start on the background. Depending on the changes you are going to push this could take a bit more time. As soon as the process is completed, you will be able to manage the both of the WordPress instances.
Congratulations, now you know how to push staging website changes to your live WordPress website at OneStopWP!