Many developers create one site and use it as a template. Only copying it to a new domain, changing colors, images and other similar settings. If you would like to copy one WordPress website under another subdomain you can do this easily from Manage Site -> Advanced tab -> Copy Instance.
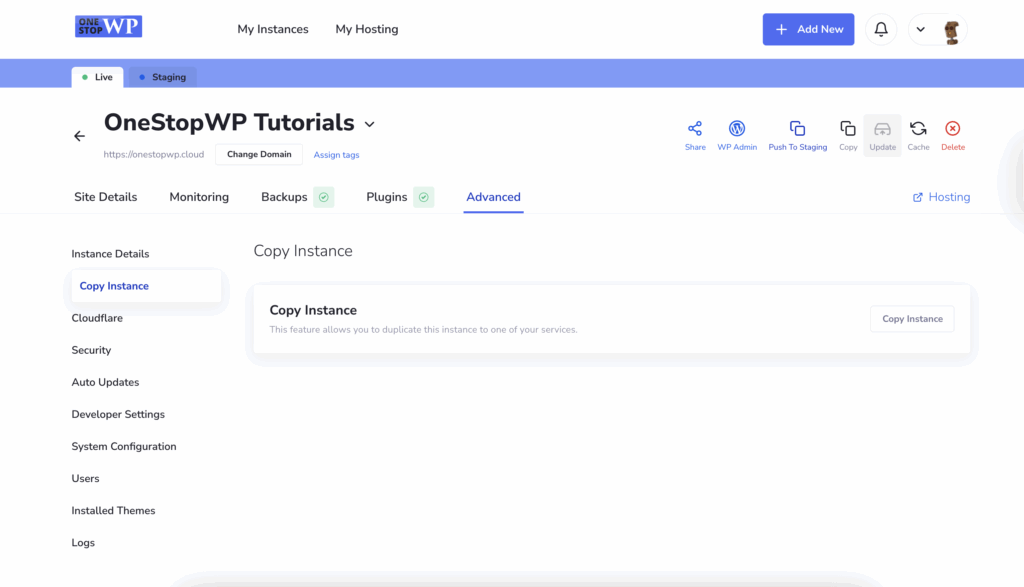
Clicking on the “Copy Instance” button you will see a pop-up window prompting you to select new plan where to copy the WordPress instance.
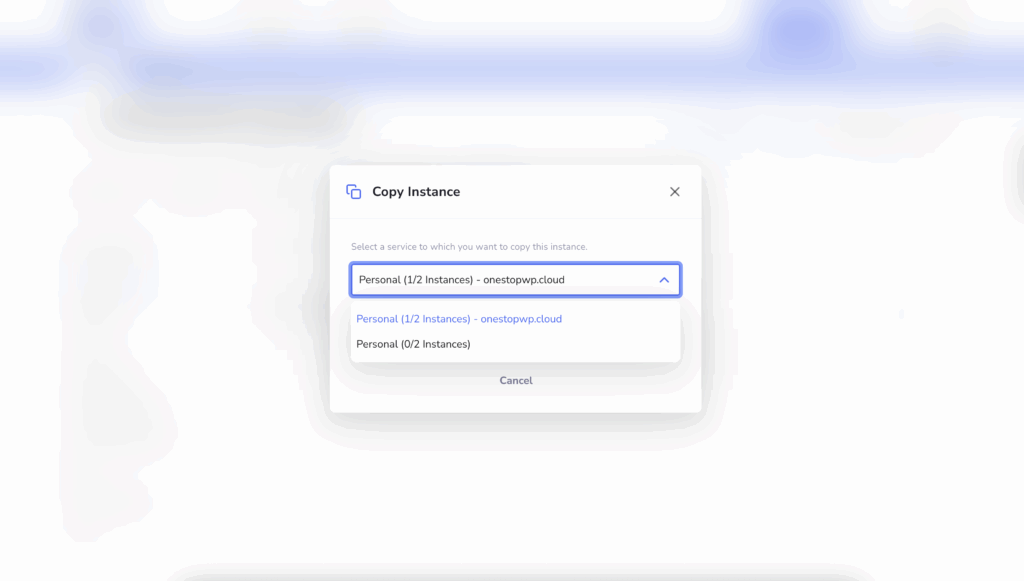
For the purpose of this tutorial, we will select the new Personal plan, without any instances. The only left thing is to press the “Copy Instance” button. Briefly you will see message indicating the process is initiated. Now if you go to My Instances page, you will see the following:
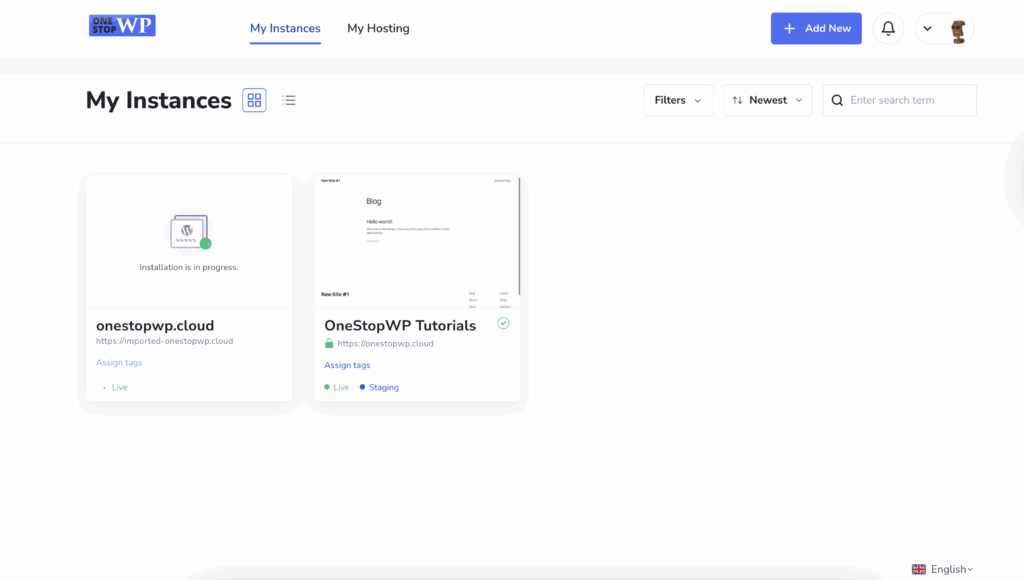
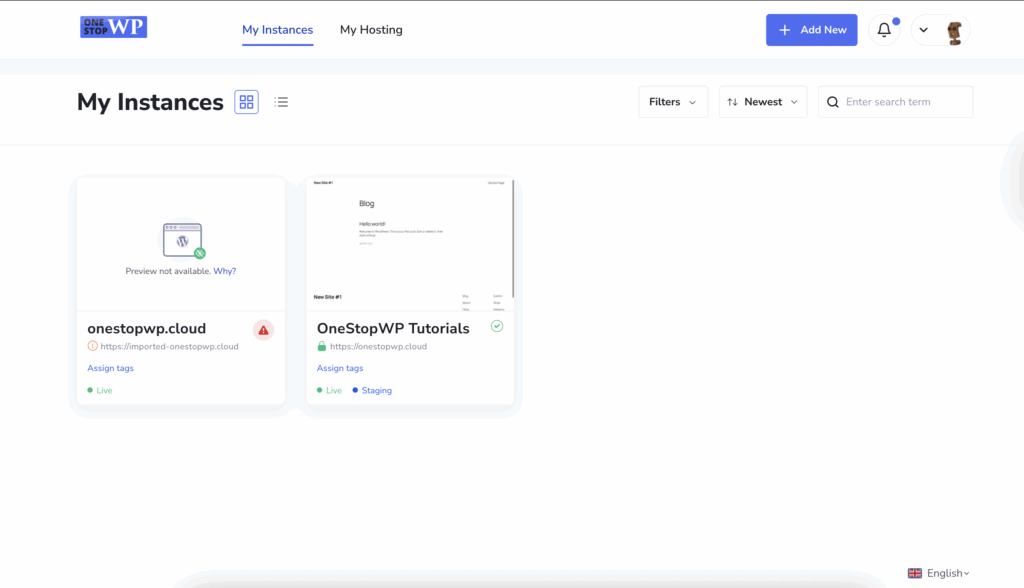
Depending on the website size, the time that will take could vary. After the copying process is completed, you will see the following:
Domain change
The only thing left is to change the instance domain with your actual new domain name. This is again done easily with one click from Manage Site (on the newly copied instance). From here click on the “DNS propagation is in progress” and you will see the option to Change the domain name.
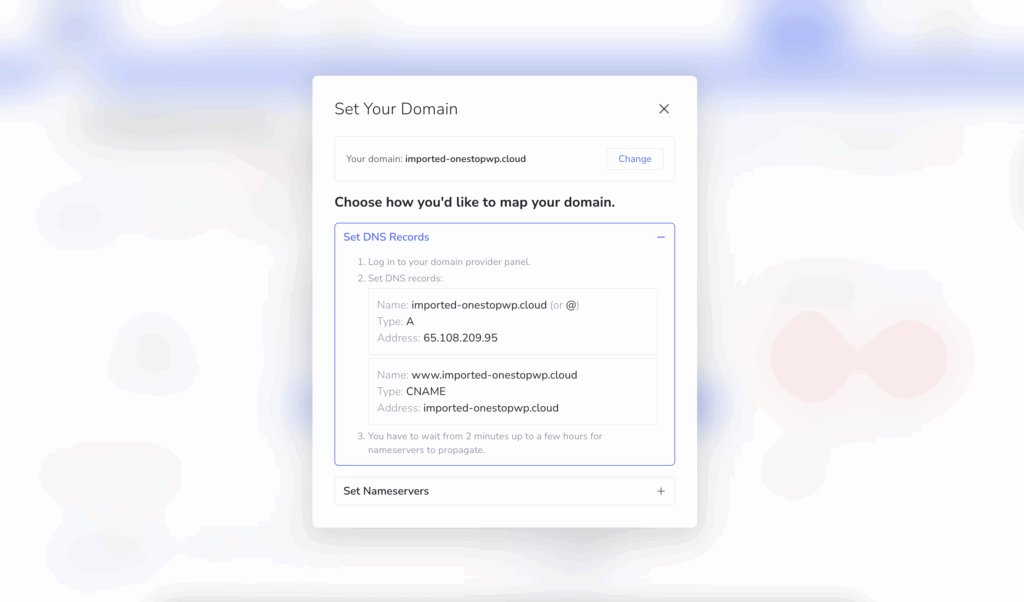
Click on the “Change” button and you will be prompted for a new domain name. Enter your domain and click on the “Use This Domain” button. After a few minutes the new domain name will be in place.
Change instance name
Optional step is to change the instance name. Currently as you might notice the new instance is with the name of the old instance. While you are on the Manage Site page, hover over the instance name and you will see the pencil icon on the right side.
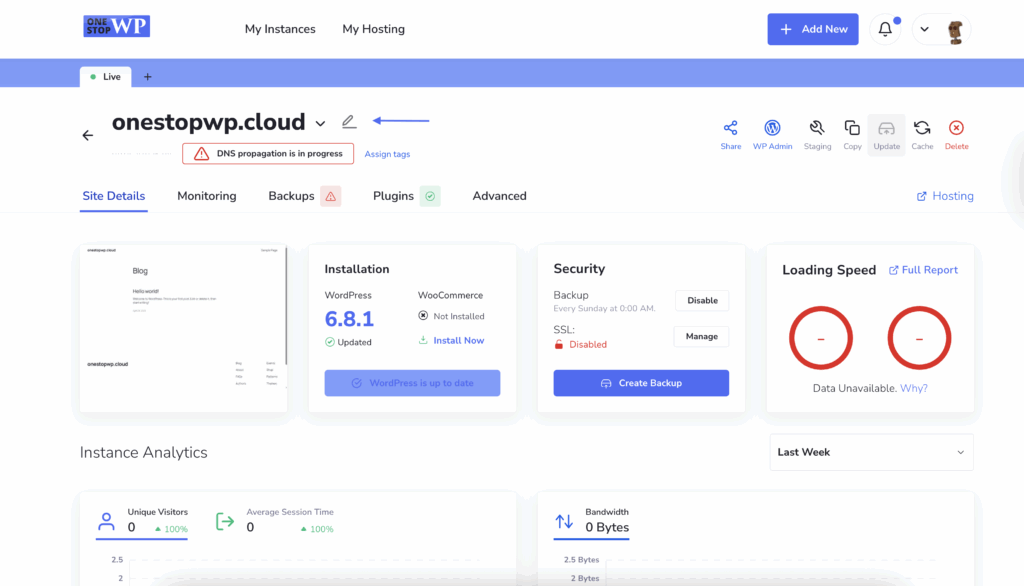
Click on that icon and you will be able to directly change the new WordPress instance name. Then going back to the My Instances page, we will see the change:
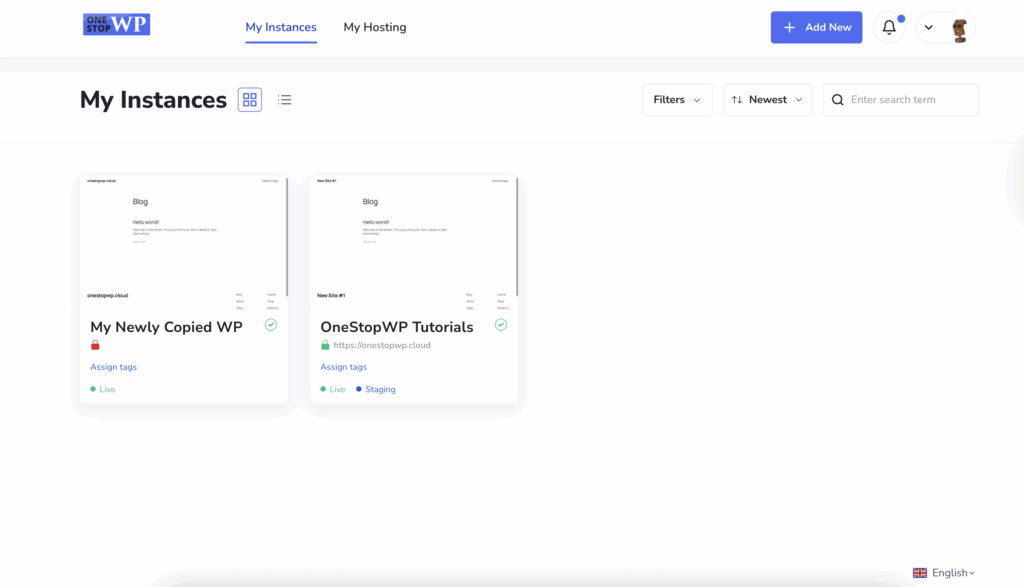
Congratulations! You just copied a WordPress instance, changed its domain name and its label in the OneStopWP control panel!